
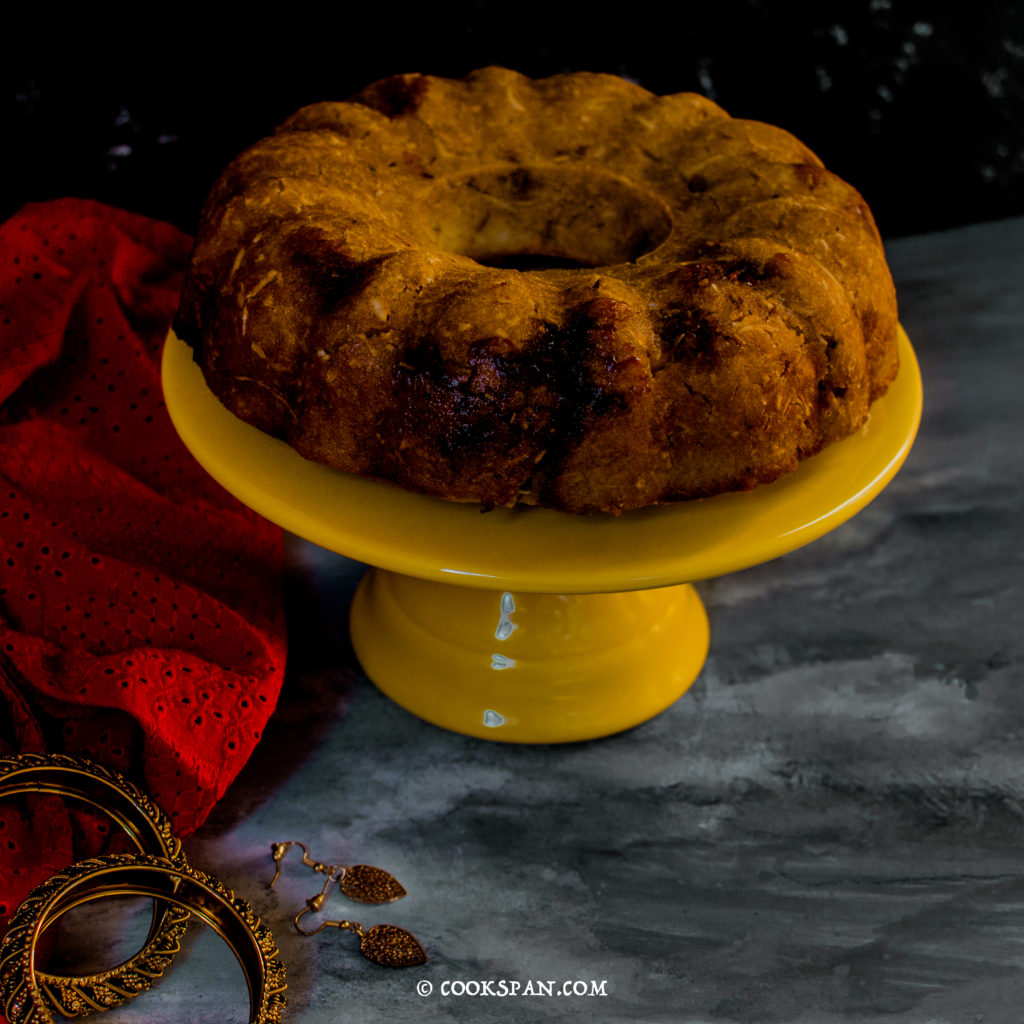
Biri Poda Pitha is a traditional Odia cake, made up of lentils and Rice, it’s slow-cooked with dry fruits and nuts. It’s traditionally made during this four-day-long celebration of Raja.
Raja (pronounced as RawJaw) is one of the age-old celebrations of we Odias. It’s a celebration and gesture of respect for womanhood and motherhood. The monsoons hit Odisha during this time, enhancing the fertility of the land and bringing hopes of bounties and prosperity. So, before plowing the fields and sowing the seeds, mother earth is given ample rest during these four days to prepare herself for the rigorous process of bearing the fruits.
The Story:
The festival abstains from all rigorous work and even walking on the land. The same way women folk refrains from doing the tedious daily chores and involves themselves in leisurely activities of dressing up, playing games, swinging, and indulging in yummy food. One such age-old delicacies baked overnight in the woodstove is Poda pitha. It’s slow-cooked in the extinguished fire of the woodstove with the remnants of the hot charcoal. I can’t afford the authenticity due to the modernity we moved into. But the nostalgia of Raja Parba and the memories of my Grandma, never stops me making it my own way. I think today she is going to be proud of my effort. I am sure I will come closer to her someday by bridging the gaps and taking tips from my failure. And this is my of multiple trials.
Ingredients:
- Urad Dal – 1 cup
- Rice – 2 cups
- Jaggery – 1/2 cup
- Dry Coconut or Fresh Coconut – Grated/chopped/sliced – 1/2 cup
- Cashew nuts – 1/2 cup chopped
- Raisins – 1/2 cup
- Black pepper – 2 tsp
- Salt – 1 tsp
- Cardamom – 3-4 pods crushed
Steps of the Preparation :
- Firstly, soak the Urad dal and Rice overnight.
- Then, grind the dal and rice batter to a thick paste, add very little water and try making a thicker consistency.
- Next, let the batter sit in a warm place for around 7-8 hrs and get properly fermented.
- Then, take all the ingredients and mix them together.
- Now, preheat the oven at 350F.
- After this, grease a cake pan with ample ghee or clarified butter, then pour the mixture.
- Then after, bake the Poda Pitha for 30 mins at 350 F and then lower the temperature to 300 F and bake it for 20 mins.
- Finally, the Pitha will need different temperatures and cooking time based on the size of the pan and the depth of the pan. It took me many attempts to figure it out. Just try the toothpick method to ensure the cooking time and once the flavor and textures look familiar.
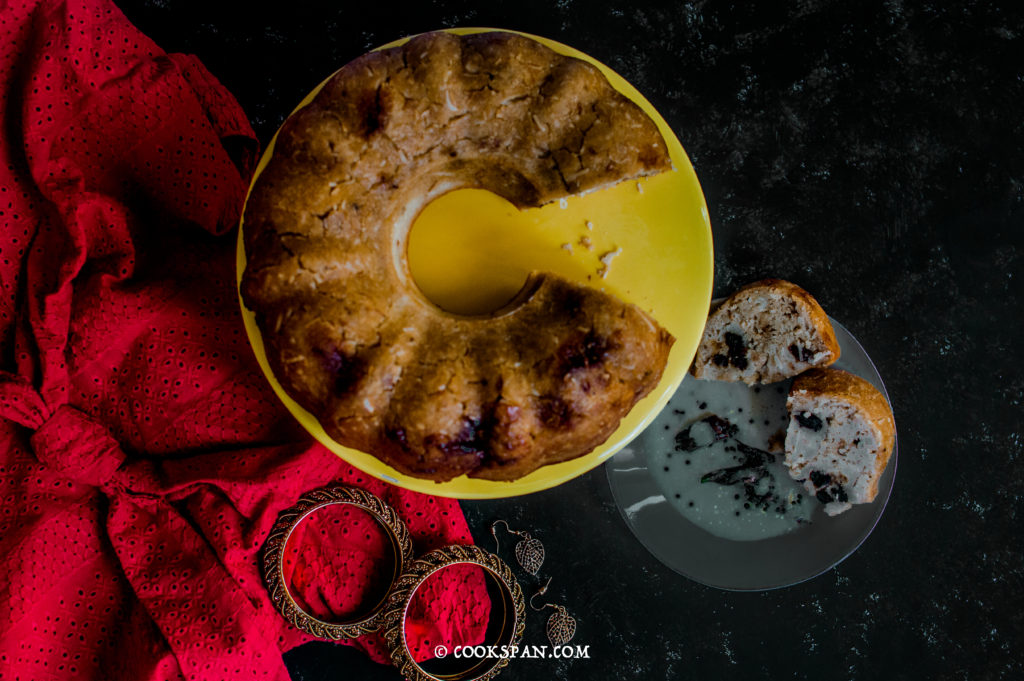
Enjoy with your favorite sides. My mom loves it with ghee, me with plan Buta Dali chutney, my husband relishes with ghuguni.
Summary:
- Urad Dal – 1 cup
- Rice – 2 cups
- Jaggery – 1/2 cup
- Dry Coconut or Fresh Coconut – Grated/chopped/sliced – 1/2 cup
- Cashew nuts – 1/2 cup chopped
- Raisins – 1/2 cup
- Black pepper – 2 tsp
- Salt – 1 tsp
- Cardamom – 3-4 pods crushed
- Firstly, soak the Urad dal and Rice overnight.
- Then, grind the dal and rice batter to a thick paste, add very little water and try making a thicker consistency.
- Next, let the batter sit in a warm place for around 7-8 hrs and get properly fermented.
- Then, take all the ingredients and mix them together.
- Now, preheat the oven at 350F.
- After this, grease a cake pan with ample ghee or clarified butter, then pour the mixture.
- Then after, bake the Poda Pitha for 30 mins at 350 F and then lower the temperature to 300 F and bake it for 20 mins.
- Finally, the Pitha will need different temperatures and cooking time based on the size of the pan and the depth of the pan. It took me many attempts to figure it out. Just try the toothpick method to ensure the cooking time and once the flavor and textures look familiar.
Be First to Comment